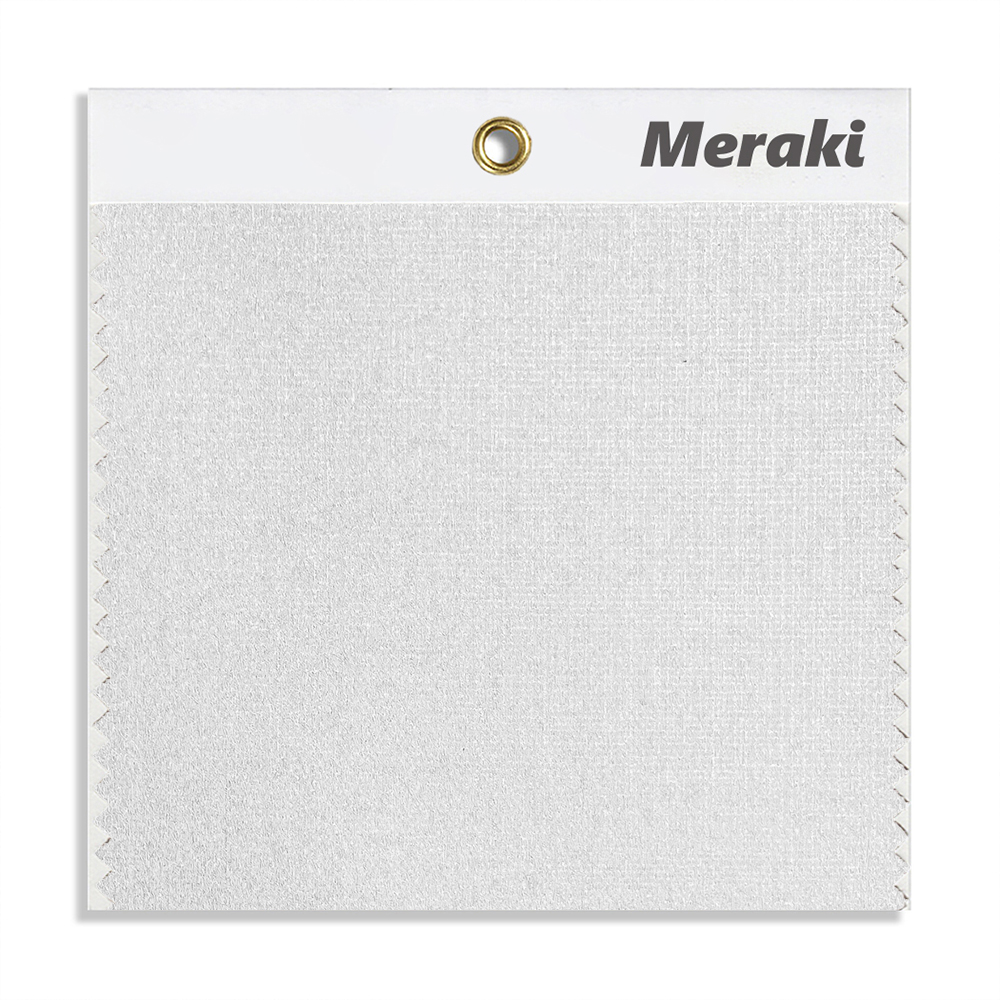
Introduction to cloth backed vinyl wallpaper
Cloth backed vinyl wallpaper is a popular choice for enhancing interior spaces with its durability and ease of maintenance. Its construction with a fabric backing makes it a robust option that can withstand high-traffic areas. Custom designs and patterns make it an excellent choice for various aesthetic preferences, catering to both residential and commercial spaces. To achieve a flawless installation, understanding the step-by-step process is crucial. This guide will outline the essential stages of installing cloth backed vinyl wallpaper, providing expert insights for a professional finish.
Tools and Materials Needed for Installation
Essential Tools
- Utility Knife
- Seam Roller
- Sponge
- Measuring Tape
- Level
- Brush or Roller for Adhesive
Materials Required
- Cloth Backed Vinyl Wallpaper
- Adhesive
- Painter’s Tape
- Drop Cloths
Having the right tools and materials at hand is crucial for an effective installation. Make sure to source high-quality adhesives and tools, which can often be found through reputable exporters, including those in China, known for their cost-effective and reliable products.
Preparing the Walls
Cleaning the Surface
Before installation, ensure the walls are clean and free of any debris. Use a damp sponge with mild soap to clean the surface. Let the walls dry completely to avoid any moisture-related issues post-installation.
Repairing Imperfections
Examine the walls for any cracks or holes. Use a filler to repair these imperfections and sand the surface smooth once dried. A well-prepared surface is key to a seamless wallpaper application.
Measuring and Cutting Wallpaper
Accurate Measurements
Begin by measuring the height and width of your walls. Add an extra half-inch to the height measurement to allow for trimming. This ensures the wall is fully covered and provides a margin for error during application.
Cutting Techniques
Roll out the wallpaper and cut it to the required length, ensuring patterns are aligned. Use a sharp utility knife to achieve clean cuts. Precision in cutting is essential, especially when working with custom designs.
Applying Adhesive to the Wallpaper
Choosing the Right Adhesive
Select an adhesive compatible with cloth backed vinyl wallpaper. Some products from exporters in China offer robust adhesives tailored for such materials, ensuring a long-lasting application.
Application Process
Using a brush or roller, apply the adhesive evenly on the back of the wallpaper. Avoid excessive application to prevent seepage during installation.
Hanging the Wallpaper Panels
Initial Alignment
Start at one corner of the room and align the first panel at the top of the wall. Use a level to ensure the panel is straight before proceeding.
Smoothing the Surface
Once aligned, press the wallpaper gently onto the wall, smoothing out any bubbles or wrinkles as you go. Use a soft sponge to assist in this process, working from the center outwards.
Rolling and Trimming the Seams
Seam Management
Overlap panels slightly for pattern matching, typically about ½ inch. Use the double-cut method for trimming, which involves cutting through both layers of the overlap for a seamless finish.
Using a Seam Roller
Gently roll the seams with a seam roller to ensure proper adhesion. Avoid applying too much pressure to prevent the adhesive from being squeezed out, which could compromise the bond.
Post-Installation Care and Maintenance
Monitoring for Moisture
After installation, regularly check the walls for any signs of moisture or vapor. If detected, address promptly to prevent mold or mildew growth, which can damage the wallpaper.
Cleaning Tips
To maintain the wallpaper, clean with a soft cloth and warm water periodically. Avoid harsh chemicals that can damage the vinyl surface.
Troubleshooting Common Installation Issues
Addressing Air Bubbles
If air bubbles appear, gently lift the affected area and smooth it back down. Use a needle to prick stubborn bubbles and release trapped air.
Dealing with Misaligned Seams
If seams do not align, carefully reposition the panels immediately after application. Realignment should be done while the adhesive is still wet for best results.
Safe Removal of Cloth Backed Vinyl Wallpaper
Dry Removal Method
The first step in removal is the dry strippable method, which involves peeling the wallpaper off carefully. This method works well when the adhesive bond has weakened over time.
Wet Removal Method
If dry removal fails, score the wallpaper surface lightly and apply a solution of warm water and dish detergent. This helps reactivate the adhesive for easier removal.
Meraki Provide Solutions
Meraki offers innovative solutions to enhance your interior design projects with cloth backed vinyl wallpaper. Our comprehensive portfolio includes custom designs and reliable products sourced globally, including from trusted exporters in China. Whether your project involves new installation or maintenance, Meraki equips you with the tools and advice needed for success. From selecting the perfect pattern to providing expert installation guidance, we ensure your spaces are both beautiful and resilient. Trust Meraki to transform your environment with our dedicated craftsmanship and industry expertise.

Post time: 2025-07-14 15:52:05


